Difference between revisions of "Help:How to use pictures"
| Line 29: | Line 29: | ||
|- | |- | ||
|Link to media uploaded on<br>Birchrockopedia | |Link to media uploaded on<br>Birchrockopedia | ||
| − | |<nowiki>[[Media: | + | |<nowiki>[[Media:</nowiki>''image name here''<nowiki>]]</nowiki> |
|<nowiki>[[Media:Loonbadge.jpg]]</nowiki> | |<nowiki>[[Media:Loonbadge.jpg]]</nowiki> | ||
|[[Media:Loonbadge.jpg]] | |[[Media:Loonbadge.jpg]] | ||
|- | |- | ||
|Link to the description<br>page of media uploaded<br> on Birchrockopedia | |Link to the description<br>page of media uploaded<br> on Birchrockopedia | ||
| − | |<nowiki>[[:Image: | + | |<nowiki>[[:Image:</nowiki>''image name here''<nowiki>]]</nowiki> |
|<nowiki>[[:Image:Loonbadge.jpg]]</nowiki> | |<nowiki>[[:Image:Loonbadge.jpg]]</nowiki> | ||
|[[:Image:Loonbadge.jpg]] | |[[:Image:Loonbadge.jpg]] | ||
Revision as of 00:59, 7 September 2008
To add an image to an article first you must upload the image. If the image is on the internet then you need to save it to a place on your computer. Once the image is on your computer click the upload file link in the toolbox on the right. Click the browse button to the right of the source filename box. find the image that you want to upload and double click on it. Type an english name for the file in the destination filename box but be sure to keep the extenstion (the part after and including the dot, like .jpg). Add a short summary of what the picture is of and then click the upload file button. You may get a warning but be sure to save the file anyway. After that you will be brought to a page with the picture on it. Now you can utilize that picture in an article. Below you can see the different ways you can add images to a page on Birchrockopedia. There are a few more but in order to keep pages uniform please use the methods below.
Thumbnails

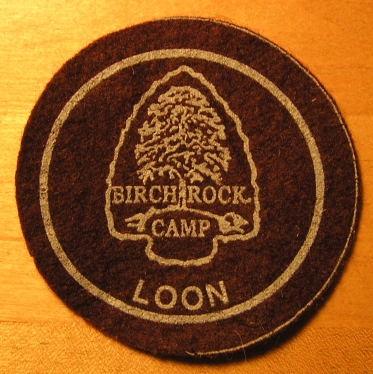
To make a thumbnail use the syntax [[image:the name of the image|location|thumb|size in pixels|caption]]. The parts in italics are the things you will modify. For example [[image:Loonbadge.jpg|left|thumb|100px|The loon badge]] makes the thumbnail you can see on the left. If you just want to have the image on the right and be the perfect 200 pixels wide then you can just type in [[image:Loonbadge.jpg|thumb|The loon badge]]. You do not need to include the size or location values because right and 200 pixels are the defaults. You can see what that looks like by looking at the thumbnail to the right of this section.
Gallery of images
You can make a neat little gallery of images inside a box by using the following syntax.
<gallery>
Image:Mcwain.jpg|Lake McWain
Image:duck.jpg|The path of a duck
Image:seal.jpg|The path of a seal
Image:whale.jpg|The path of a whale
</gallery>
The result looks like this:
- Mcwain.jpg
Lake McWain
- Duck.jpg
The path of a duck
- Seal.jpg
The path of a seal
- Whale.jpg
The path of a whale
Links to images
| Description | Syntax | You write | Output |
|---|---|---|---|
| Link to media uploaded on Birchrockopedia |
[[Media:image name here]] | [[Media:Loonbadge.jpg]] | Media:Loonbadge.jpg |
| Link to the description page of media uploaded on Birchrockopedia |
[[:Image:image name here]] | [[:Image:Loonbadge.jpg]] | Image:Loonbadge.jpg |
| Link to an image with different text |
[[image link here|different text]] | [[:Image:Loonbadge.jpg|The Loon badge]] [[Media:Loonbadge.jpg|A Loon badge]] |
The Loon badge A Loon badge |